Gardening Draw: Sketch a Yard Plan That Works
Start With A Useful Sketch, Not A Pretty Drawing
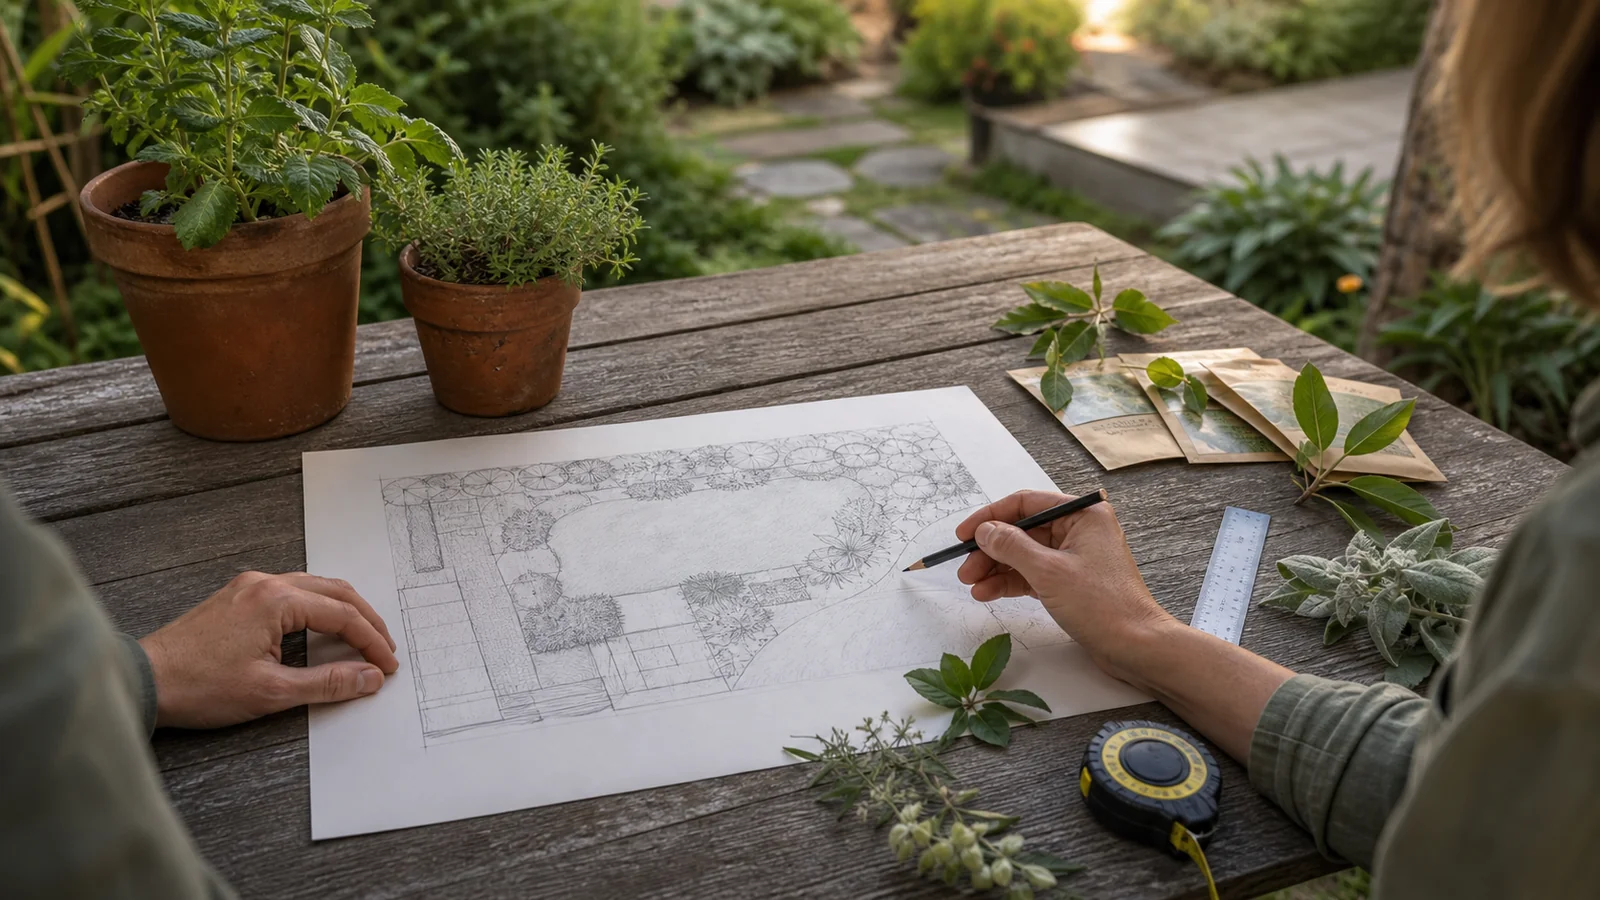
A gardening draw does not need to look like a professional landscape plan. It needs to help you see the yard clearly before you buy plants, move soil, or build a path. A rough sketch can show where the sun lands, which views matter, how people move, and where a bed will become too wide to maintain.
That makes drawing one of the cheapest garden tools you own. Paper lets you test three path shapes, move a seating area, widen a border, or delete a plant before any work becomes expensive.
Use this gardening draw method when your yard feels vague, crowded, or hard to start. The goal is not art. The goal is a plan you can actually act on.
Walk The Yard Before You Pick Up A Pencil
Start outside, not at the table. Walk the space slowly and notice what already controls the design. These fixed pieces are the bones of the drawing.
Mark anything that is hard to move:
- House walls, doors, steps, and windows
- Existing patios, decks, sheds, and fences
- Large trees, mature shrubs, and hedges
- Utility boxes, drains, hose bibs, and vents
- Slopes, wet spots, dry strips, and compacted paths
- Views you want to frame or hide
Take photos from the places you use most: the kitchen window, the back door, the driveway, the main seat on the patio, and the sidewalk approach. A garden that looks good from those views usually feels more intentional in daily life.
If you are still learning how to read a yard, our gardening for beginners guide can help you sort light, water, access, and first-season priorities before you draw.
Make A Simple Base Map
A base map is the plain version of the yard before you add ideas. It should include the house edge, property edge if known, hard surfaces, trees, beds, doors, and main utilities. Keep it boring on purpose. You will make copies or layers for design options later.
Measure only what matters for the decision. You do not need survey-level detail for a weekend bed refresh, but you do need enough accuracy to avoid a path that is too narrow or a seating area that blocks a door.
Use a tape measure for short distances. For larger spaces, pace carefully and confirm the important dimensions. Then draw the outline on graph paper, where one square might equal one foot, two feet, or half a meter. Choose a scale that fits the whole area on one page.
For a small patio corner, a loose sketch may be enough. For a full front yard, a scaled base map is worth the extra time.
Draw In Layers So You Can Change Your Mind
The easiest way to keep a garden drawing flexible is to work in layers. Put the base map on the bottom. Then use tracing paper, printer paper held to a window, or a tablet layer to test ideas.
Try separate layers for:
| Layer | What to draw | Why it helps |
|---|---|---|
| Movement | Paths, gates, steps, and mowing routes | Shows whether the yard is easy to use |
| Views | Focal points, screens, and open sight lines | Keeps the garden connected to the house |
| Hardscape | Patio, gravel, edging, containers, or trellis | Sets structure before plant shopping |
| Planting | Trees, shrubs, perennials, herbs, and annuals | Builds softness around the structure |
| Maintenance | Hose reach, compost access, storage, and work space | Prevents pretty plans from becoming chores |
Layering also keeps you from solving every problem with plants. Often the better answer is a clearer path, a stronger edge, a moved chair, or one vertical marker.
Our dream home gardening guide uses a similar idea: design around daily use first, then let the planting support those moments.
Use Circles, Bubbles, And Arrows Before Plant Names
Plant names can come later. Early in the gardening draw process, use simple shapes to show roles. A circle can mean a shrub. A larger circle can mean a small tree. A soft cloud can mean a mixed border. An arrow can show the view from a door.
This keeps the drawing honest. Instead of writing “lavender” in every sunny gap, you can ask what the space actually needs:
- Height near a fence
- Low texture along a path
- Seasonal color by the entry
- A screen for a neighbor view
- Scent near a seat
- Open space for walking, playing, or carrying tools
Once the roles are clear, plant choices get easier. A dry, sunny edge might need low herbs or drought-tolerant perennials. A shaded view near the house might need foliage contrast instead of more flowers.
If terms such as perennial, edging, massing, and focal point blur together, our gardening language article explains design words in plain garden use.
Check Scale With Real Body Movement
A drawing can look generous on paper and feel tight in real life. Before committing, test key spaces with your body.
A comfortable path often needs more room than a thin line suggests. A dining chair needs space to pull back. A wheelbarrow needs a clean turn. A raised bed needs reach from at least one side. A shrub may need a mature circle, not the tiny pot size it has at the nursery.
Use this quick scale check:
| Garden feature | Practical check |
|---|---|
| Main path | Can two people pass or can one person carry tools comfortably? |
| Side path | Can you move a hose, bin, or wheelbarrow without crushing plants? |
| Seating area | Can chairs pull out without landing in a bed? |
| Border depth | Can you reach weeds and pruning cuts from the edge? |
| New tree | Does the mature canopy still fit the view and the house? |
When in doubt, draw the maintenance space too. The invisible working space is often what makes a garden feel calm after the first season.
Turn One Problem Area Into Three Options
Do not try to redesign the whole yard in one pass. Choose one problem area and draw three options. This is where a gardening draw earns its keep.
For example, if the back door opens to a dull rectangle of lawn, test these:
- A straight path to a small bench with wider planting on both sides.
- A curved bed that frames the lawn and leaves the center open.
- A gravel sitting pad near the door with a narrower planting strip beyond it.
Compare the options by use, not by prettiness alone. Which one gives you the easiest route? Which improves the view from inside? Which can be built in stages? Which reduces mowing or weeding instead of adding more?
If one version needs too much money, time, or maintenance, simplify it on paper. A smaller first phase often beats a grand plan that never starts.
Add Planting After The Structure Feels Right
Once paths, edges, views, and open spaces make sense, add planting. Start with the largest plants first because they change the yard most. Trees, large shrubs, hedges, and tall screens affect shade, privacy, wind, and the long-term shape of the garden.
Then add medium plants for fullness and low plants for edges. Use repetition so the garden does not become a collection of unrelated favorites. A simple drawing might show three repeated plant groups rather than fifteen different species.
Think in layers:
- Backbone plants for height and year-round shape
- Seasonal plants for bloom, scent, or harvest
- Ground-level plants or mulch to cover soil
- Containers for flexible color near patios and doors
- Open space where the garden should breathe
If the soil is the real problem, mark that on the plan too. Our soil amendments for gardens guide can help you decide whether compost, mulch, drainage, or a soil test belongs in the first phase.
Mark The First Weekend Project
A useful garden drawing ends with action. Circle one change you can finish soon without tearing the yard apart.
Good first projects include:
- Recutting one bed edge
- Widening a narrow path
- Moving pots into a stronger group
- Adding a small gravel landing
- Planting one privacy shrub where the drawing proves it belongs
- Creating a clearer route from door to seating
- Testing a new border shape with a hose before digging
Keep the first project visible from a daily view. If you can see the improvement from the kitchen window or patio chair, the whole garden will feel more encouraging.
Save the drawing after the work is done. Add notes about what felt too narrow, what plant size surprised you, and where water collected. That edited drawing becomes a better plan for the next phase.
FAQ
Do I need special software to make a gardening draw?
No. Graph paper, tracing paper, a pencil, and a tape measure are enough for most home garden planning. Software can help if you enjoy it, but it is not required for a clear yard plan.
What scale should I use for a garden drawing?
Use a scale that fits the area on the page and still leaves room for details. For small yards, one graph-paper square per foot can work. For larger spaces, use a looser scale and enlarge only the area you plan to change first.
Should I draw every plant?
Draw every major plant, but group smaller perennials, herbs, annuals, or groundcovers as masses. The early plan should show role, size, and spacing more than a perfect catalog of plant names.
What if I cannot draw well?
Use simple shapes. Circles, rectangles, arrows, and labels are enough. A garden sketch only has to communicate size, movement, views, and plant roles. It does not need to look artistic.
Let The Drawing Make The Mistakes First
A gardening draw is a low-pressure way to make better yard decisions. It helps you notice fixed features, test paths, protect useful open space, and place plants where they have a real job.
Start with a base map, work in layers, and draw options before you dig. The sketch may stay rough, but the garden will usually feel calmer, more useful, and easier to build one phase at a time.
You might also like
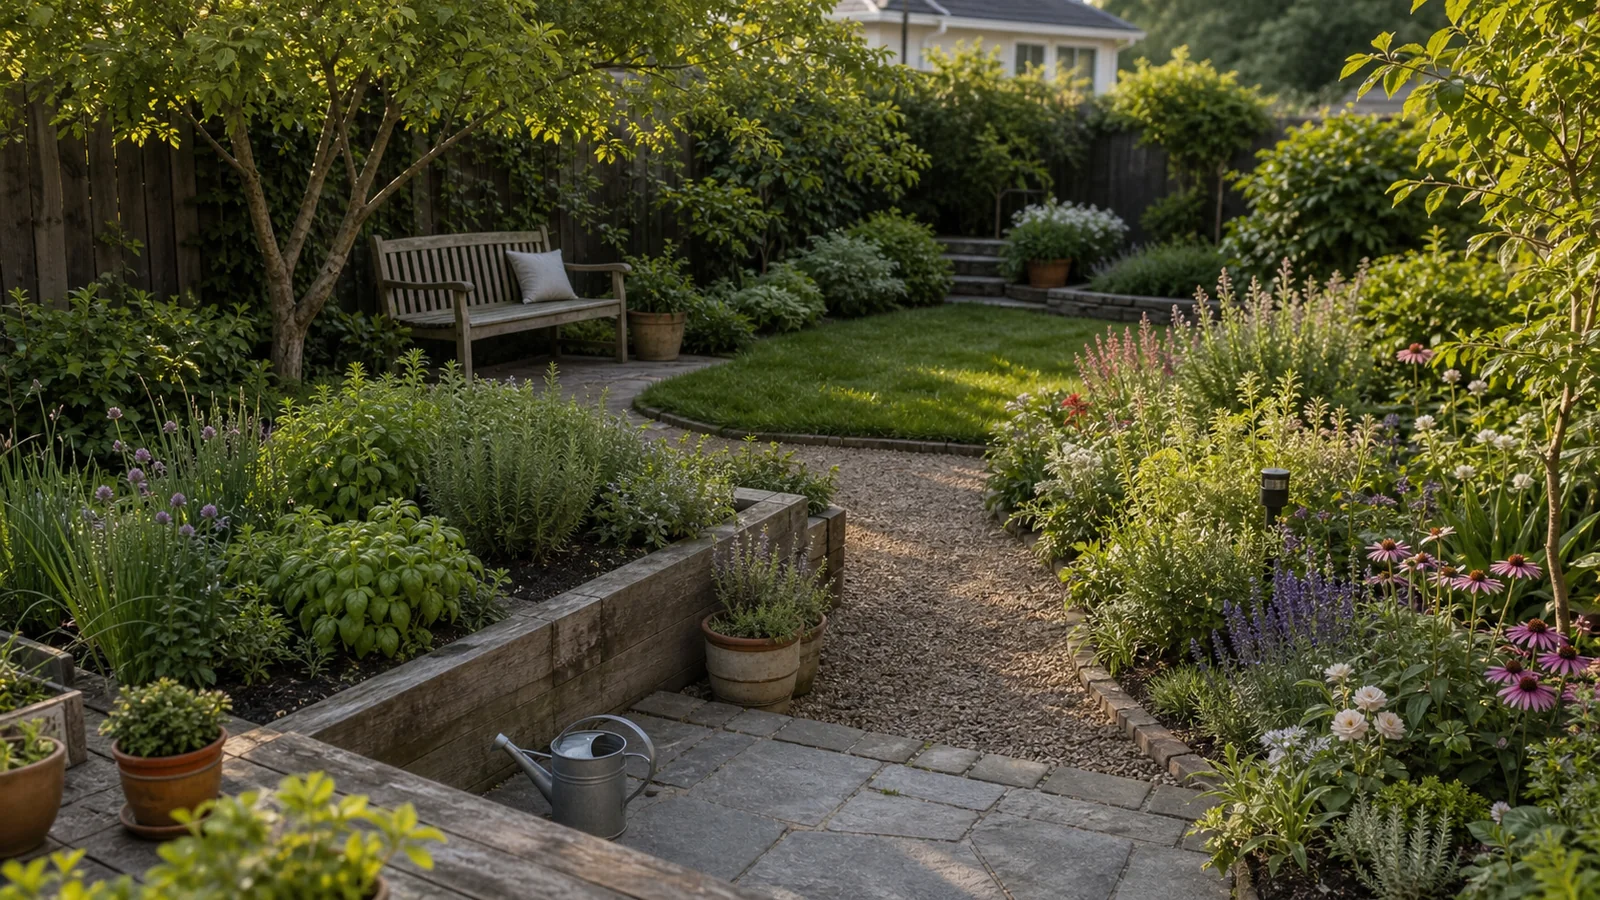
The Gardens: Make a Yard Feel Intentional
Use the gardens idea to turn scattered beds, paths, seating, and planting into a yard that feels calm, usable, and connected.
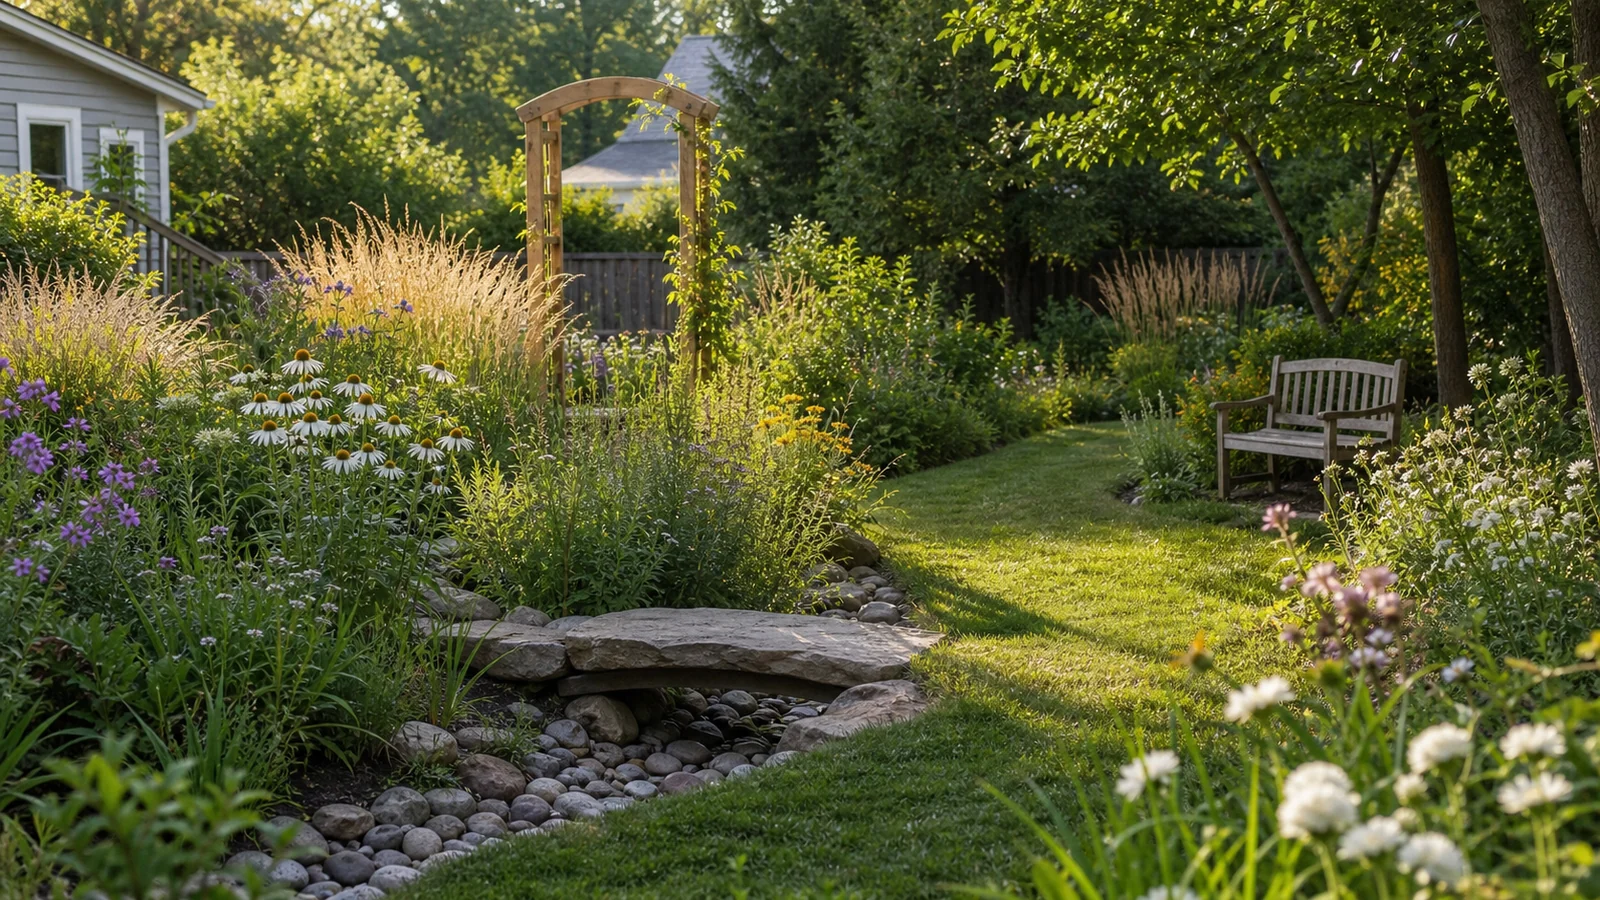
Glenwood Gardens Design Lessons for Family Yards
Borrow Glenwood Gardens ideas for meadow edges, playful paths, quiet benches, and family-friendly garden rooms at home.
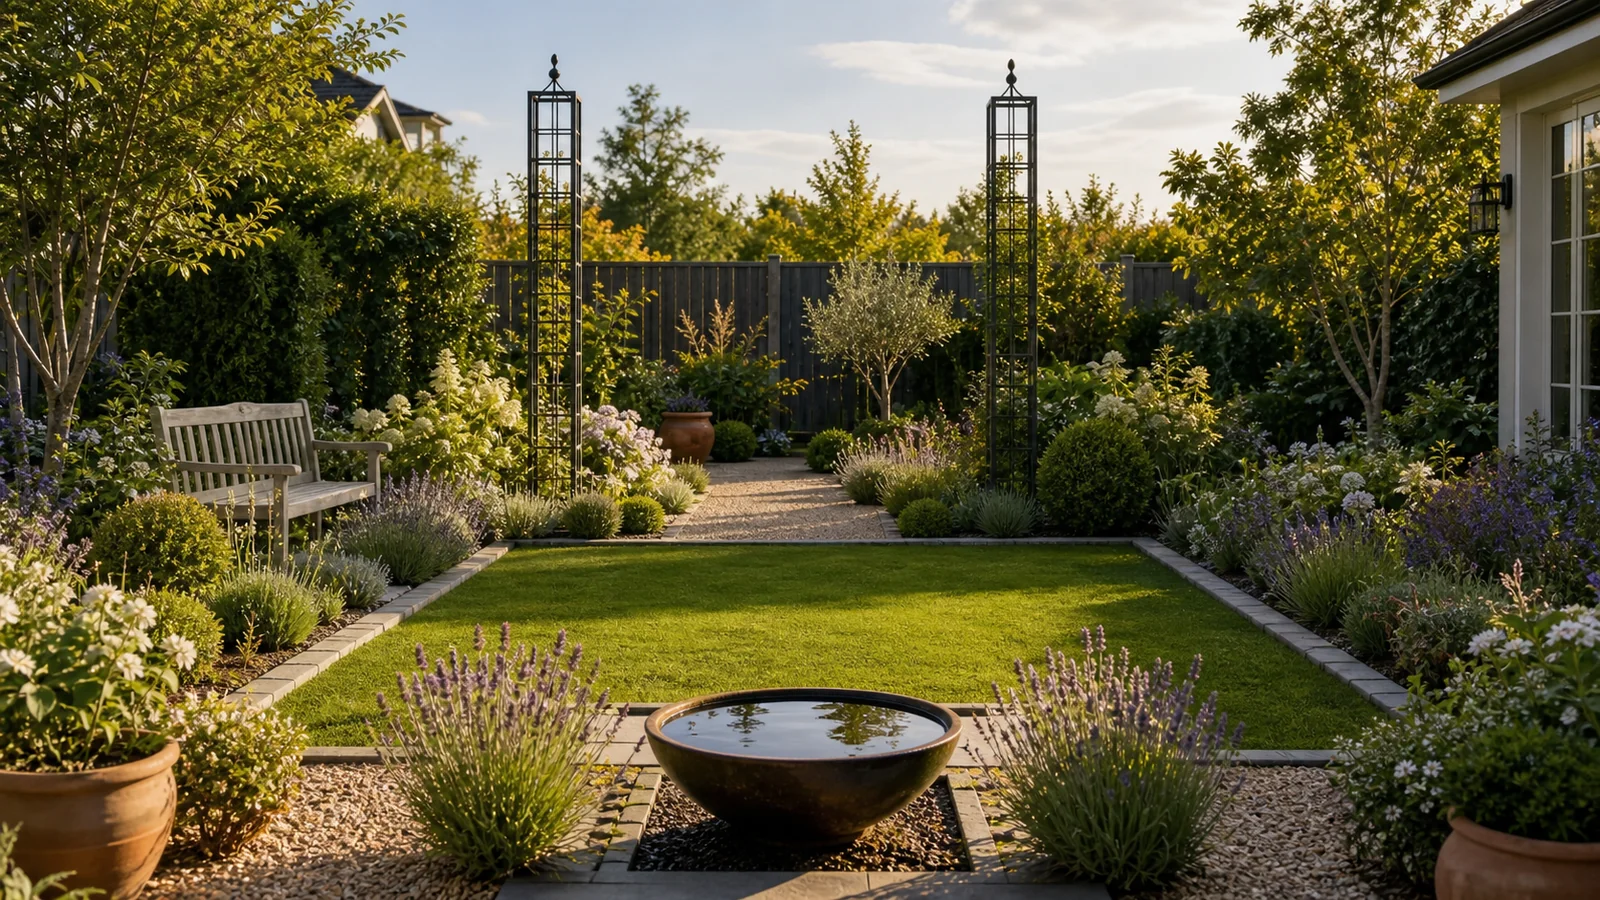
Coxhall Gardens Design Lessons For Home
Use Coxhall Gardens as a model for formal lawns, framed walks, children's corners, water views, and calm backyard structure.